Parasitic wasp,
Thank you for laying your eggs
On the bad hornworm.

Parasitic wasp,
Thank you for laying your eggs
On the bad hornworm.
Hello all!
I’m sorry it’s been such a long time since my last post. It’s been quite busy here. I’ve been harvesting lots of tomatoes and beans and cucumbers. And my flowers are looking great — zinnias and dahlias and daisies. Everything even survived my two-week trip to Africa. Why? Irrigation on timers!

If every day were like today — steady light rain — I would not need an irrigation system. But summer in Georgia can be hot and dry and unforgiving, so it’s a good idea to have an irrigation plan. Some of my friends water by hand. But that’s a huge time commitment, and we all know that I’m lazy. Fortunately, my house came with an installed sprinkler system for the grass, and I’ve got my veggies on a drip irrigation system.
If you have grass, a sprinkler system can be helpful (some day, I will get rid of grass and go to an all drip system, but today is not that day). You just have to know how much water it emits. I like to use the pie pan test. I place pie pans at random places in the yard and see how much water is in them after ten or so minutes of sprinkling. Then I can calculate how long I need to leave the sprinkler on in each zone.
Sprinkler heads are a lot like smartphones. They last for a while, and then they just die. For years, I shelled out money for the sprinkler guy to come out and replace broken sprinkler heads. But after watching him replace the last one, I realized that it’s not that complicated. So now I can save the $50 service charge and replace the sprinkler head myself!
Step One: Confirm that the sprinkler head is, indeed, broken. Sometimes, a sprinkler head just gets stuck and needs a little push to start working again. But this sprinkler head stopped oscillating and could not be fixed, so it needed to go.

Step Two: dig up the broken sprinkler head. Be careful around the pipe!

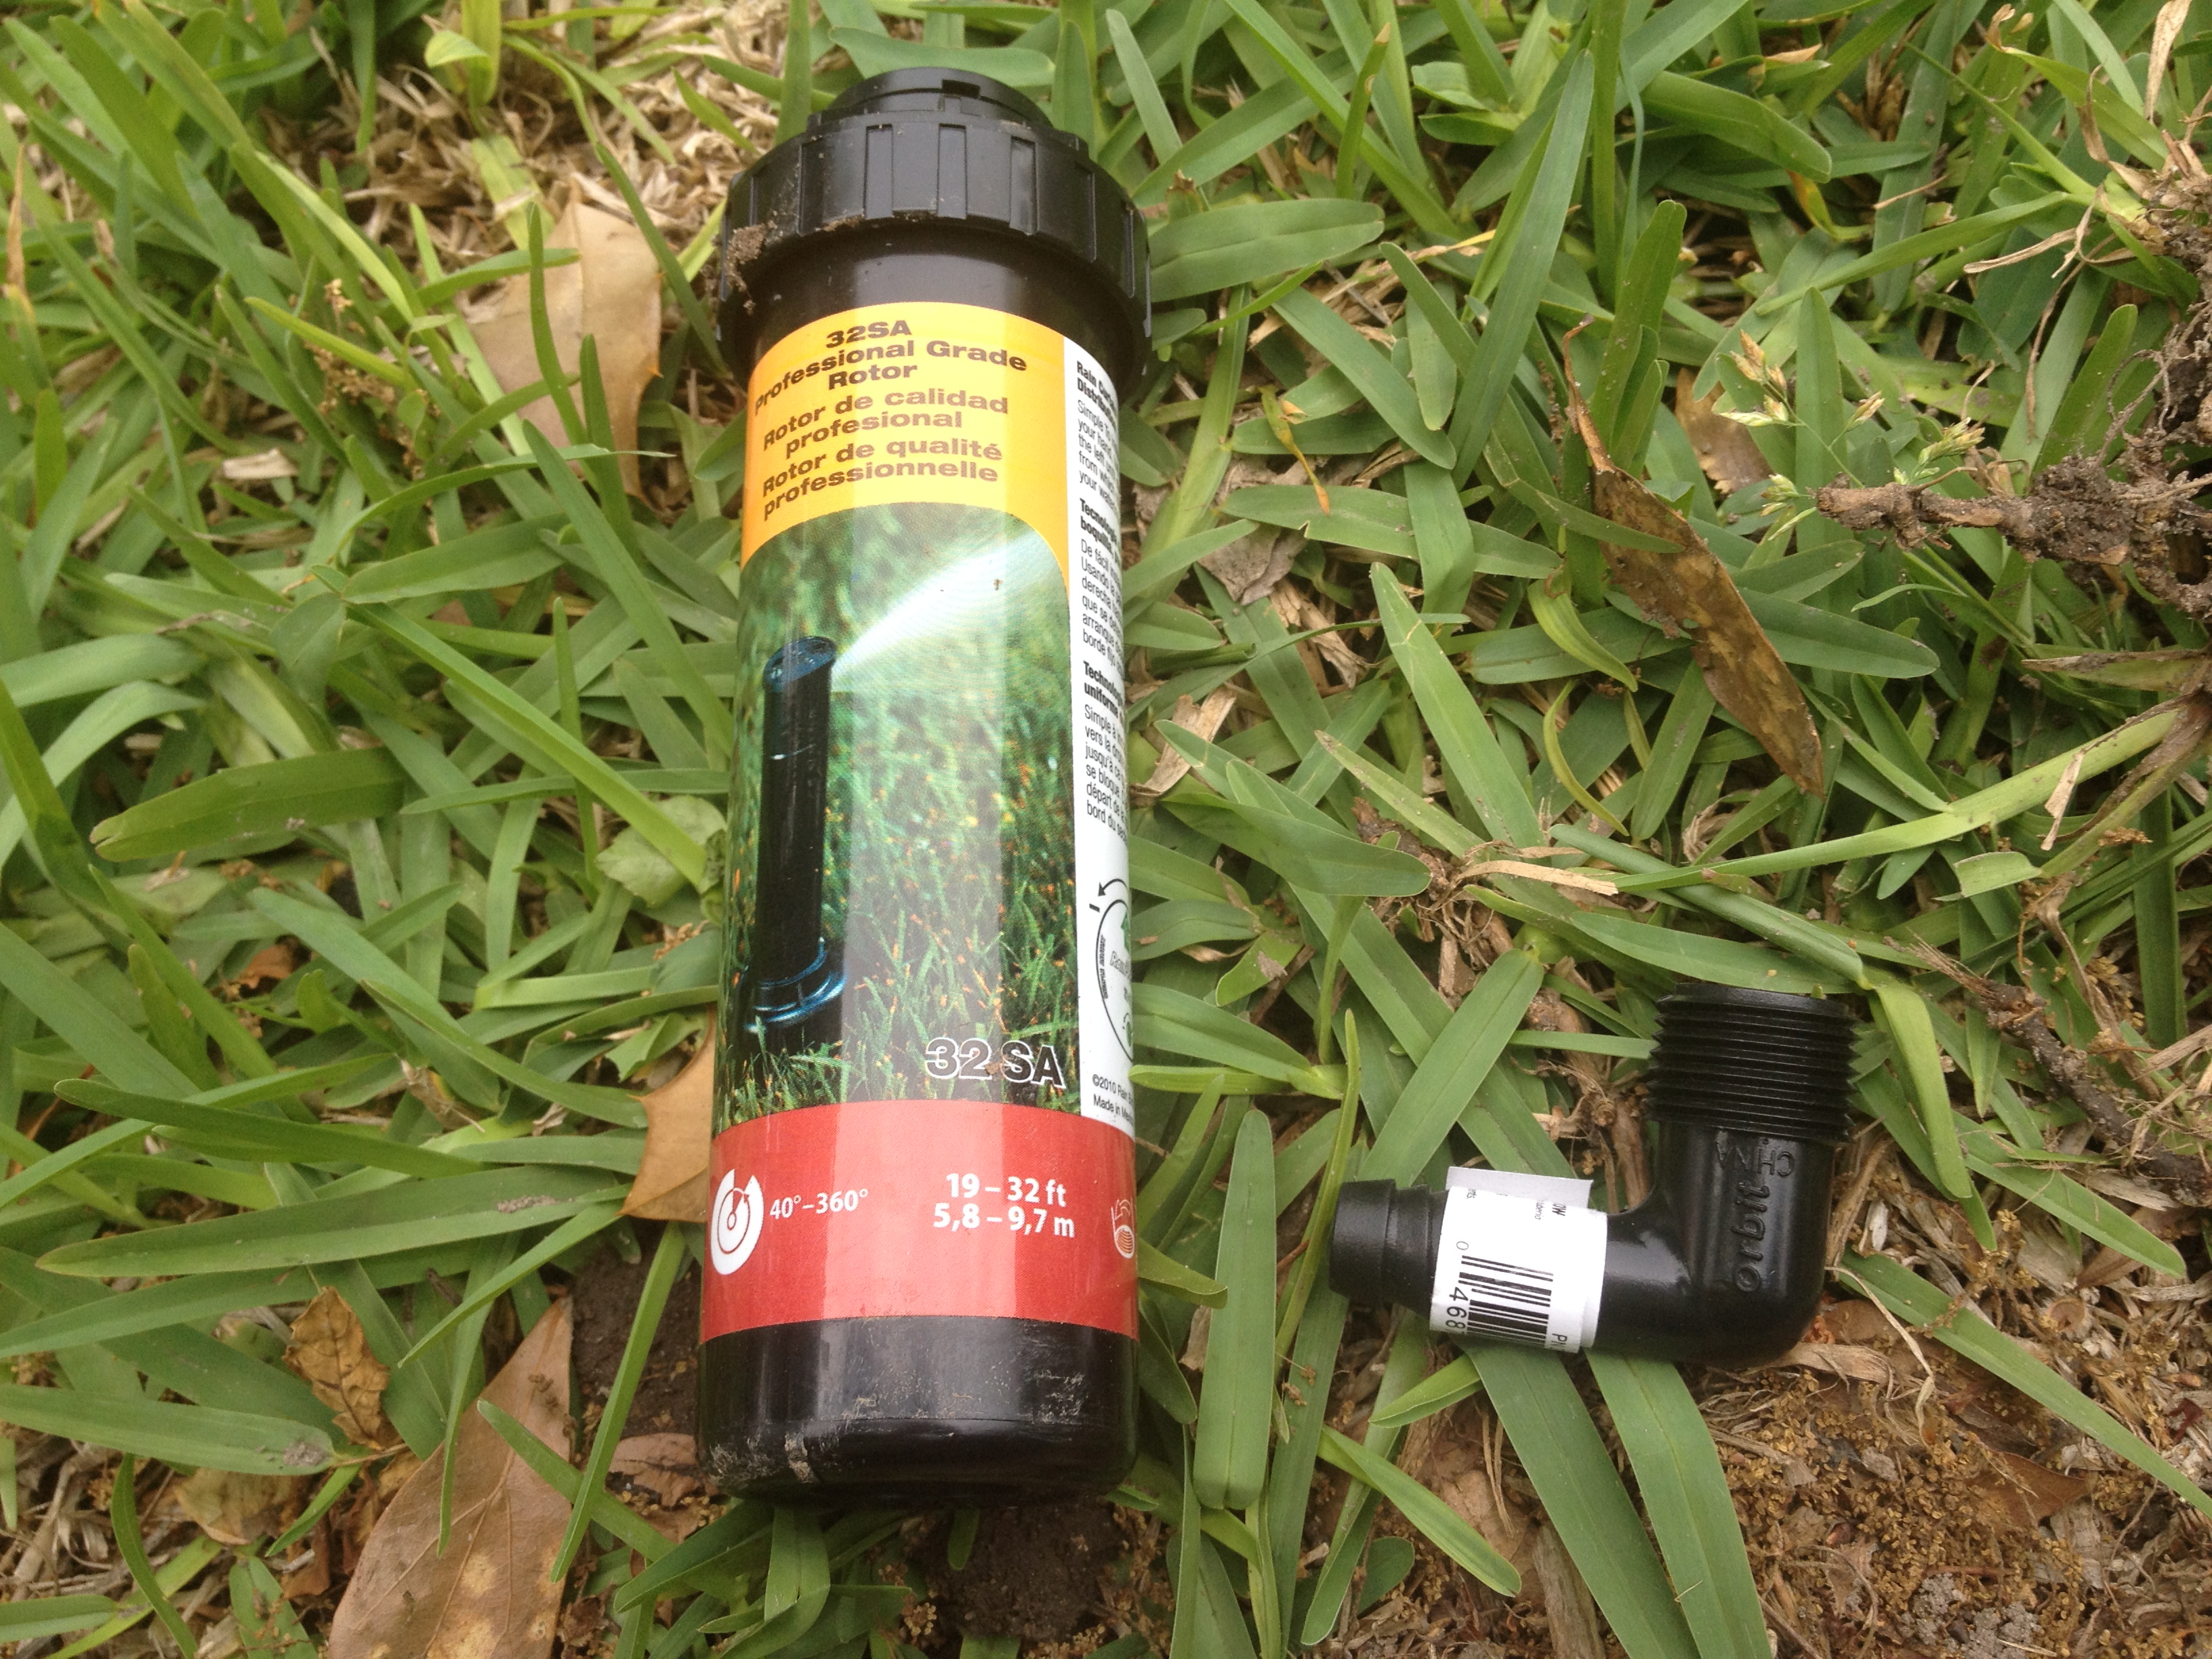
Step 3: obtain a new sprinkler head. Make sure you have the right connector!
Step 4: Attach the new sprinkler head to the pipe and bury. Make sure that the top of the sprinkler head is level with the ground. Then, you’re ready to adjust the sprinkler head so it conforms to the pattern and distance you need.

I do like the sprinkler system. But I LOVE my drip irrigation system. It saves me a ton of time and water. My raised beds and all of my large pots (including the hanging pots) are on drip irrigation systems. All you need is: 1) a timer, 2) a backflow preventer (if your timer doesn’t have one), 3) pressure regulator, 4) hose-to-tubing connector, 5) tubing, 6) connectors and emitters and end pieces, and 7) an emitter “punch” tool. If you’re a beginner, you might try a kit.
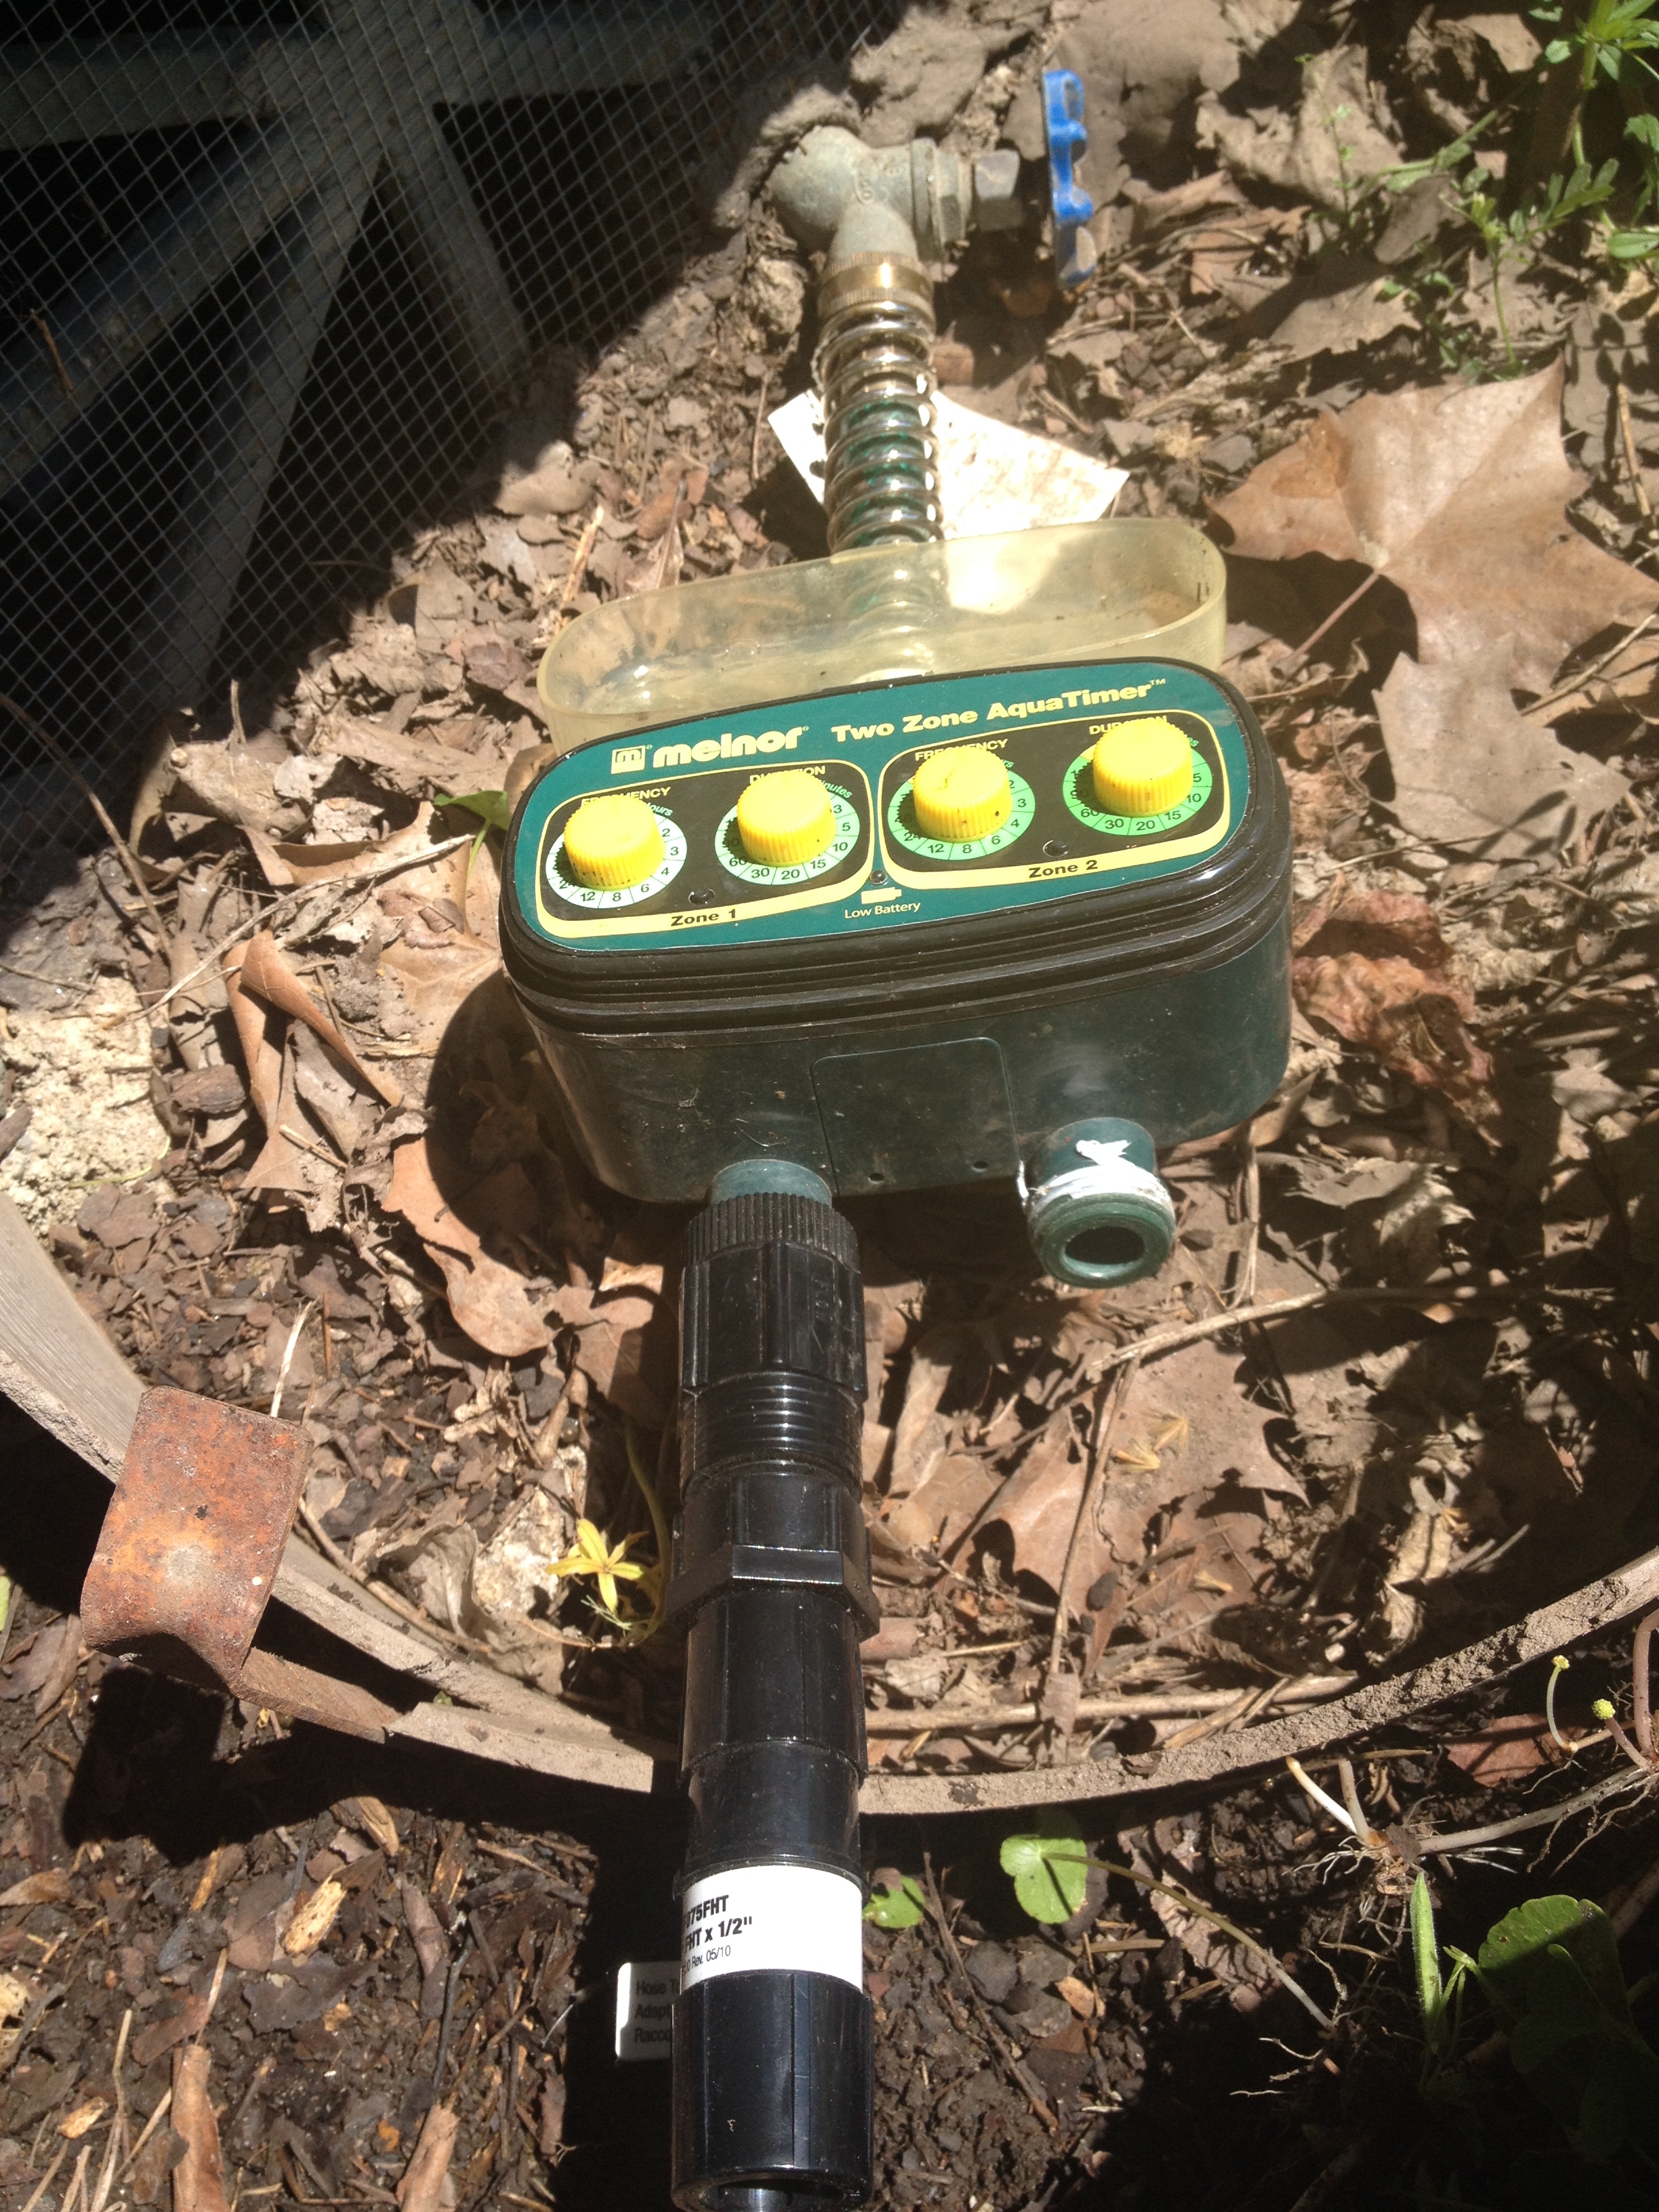
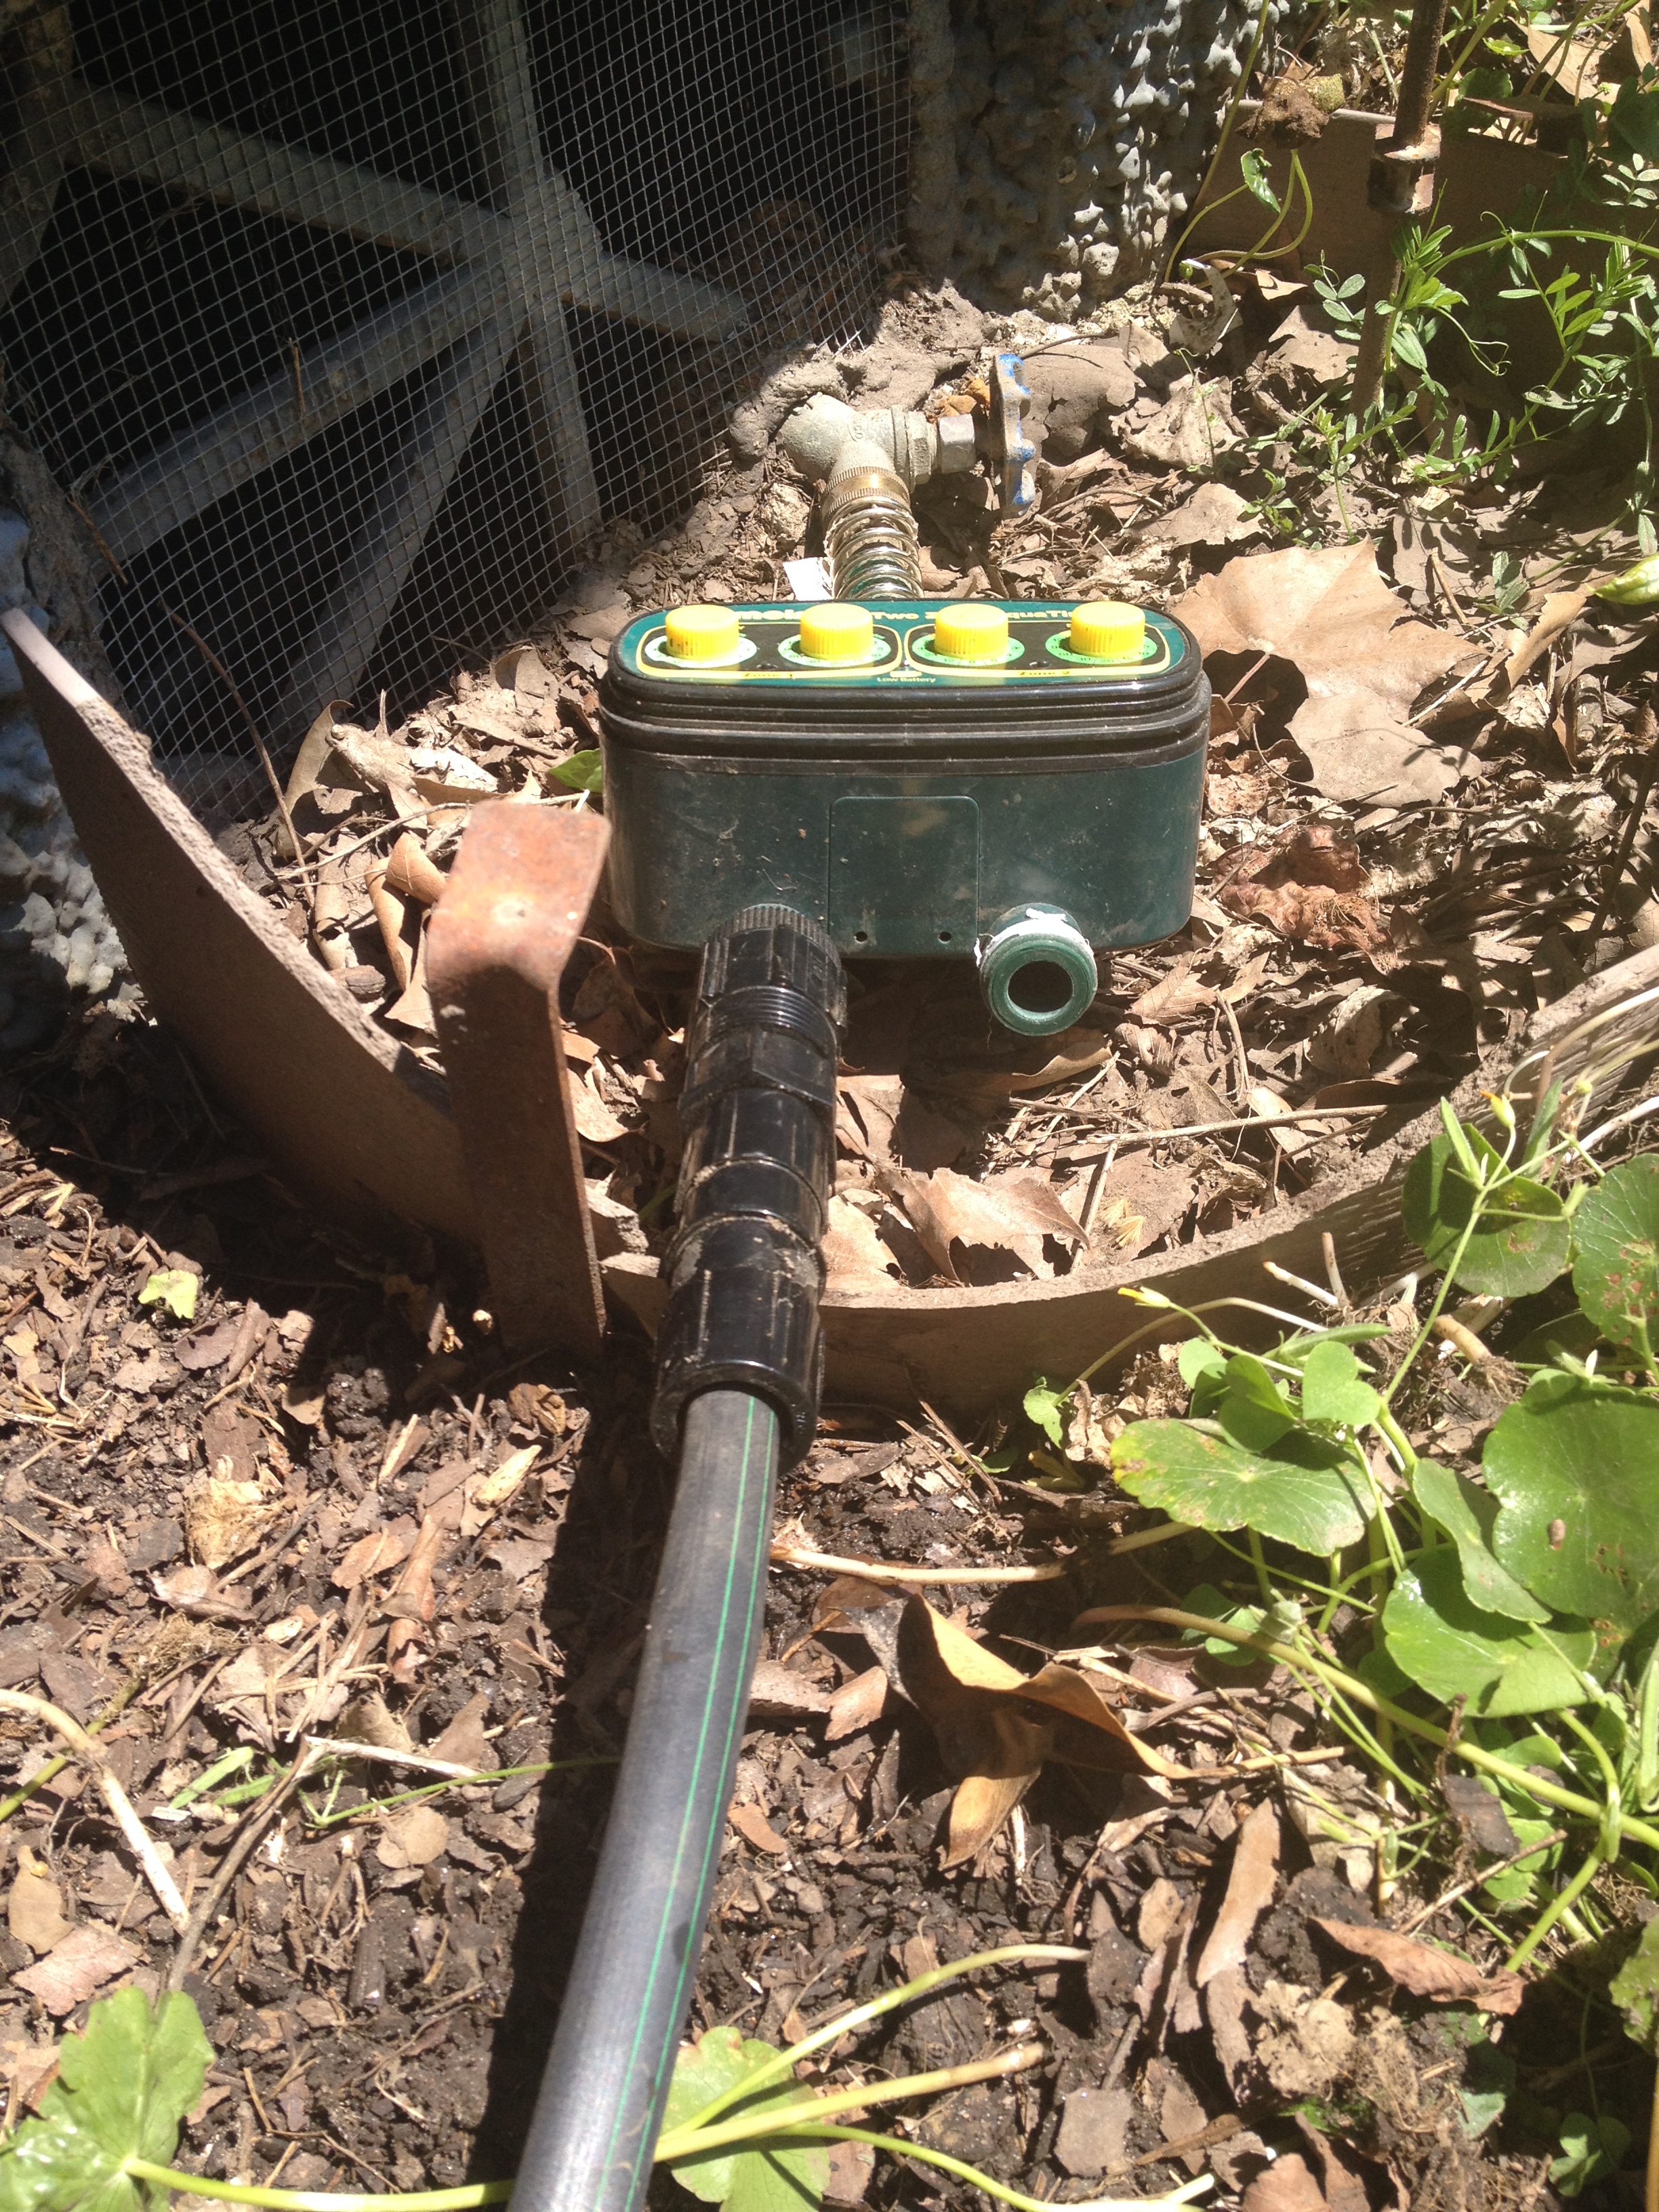
Step One: connect your timer, backflow preventer, pressure regulator, and tubing connector to the spigot. You may need to use plumber’s tape. Check for leaks and fix before moving to step two.
Step Two: connect the tubing. Check for leaks and fix.
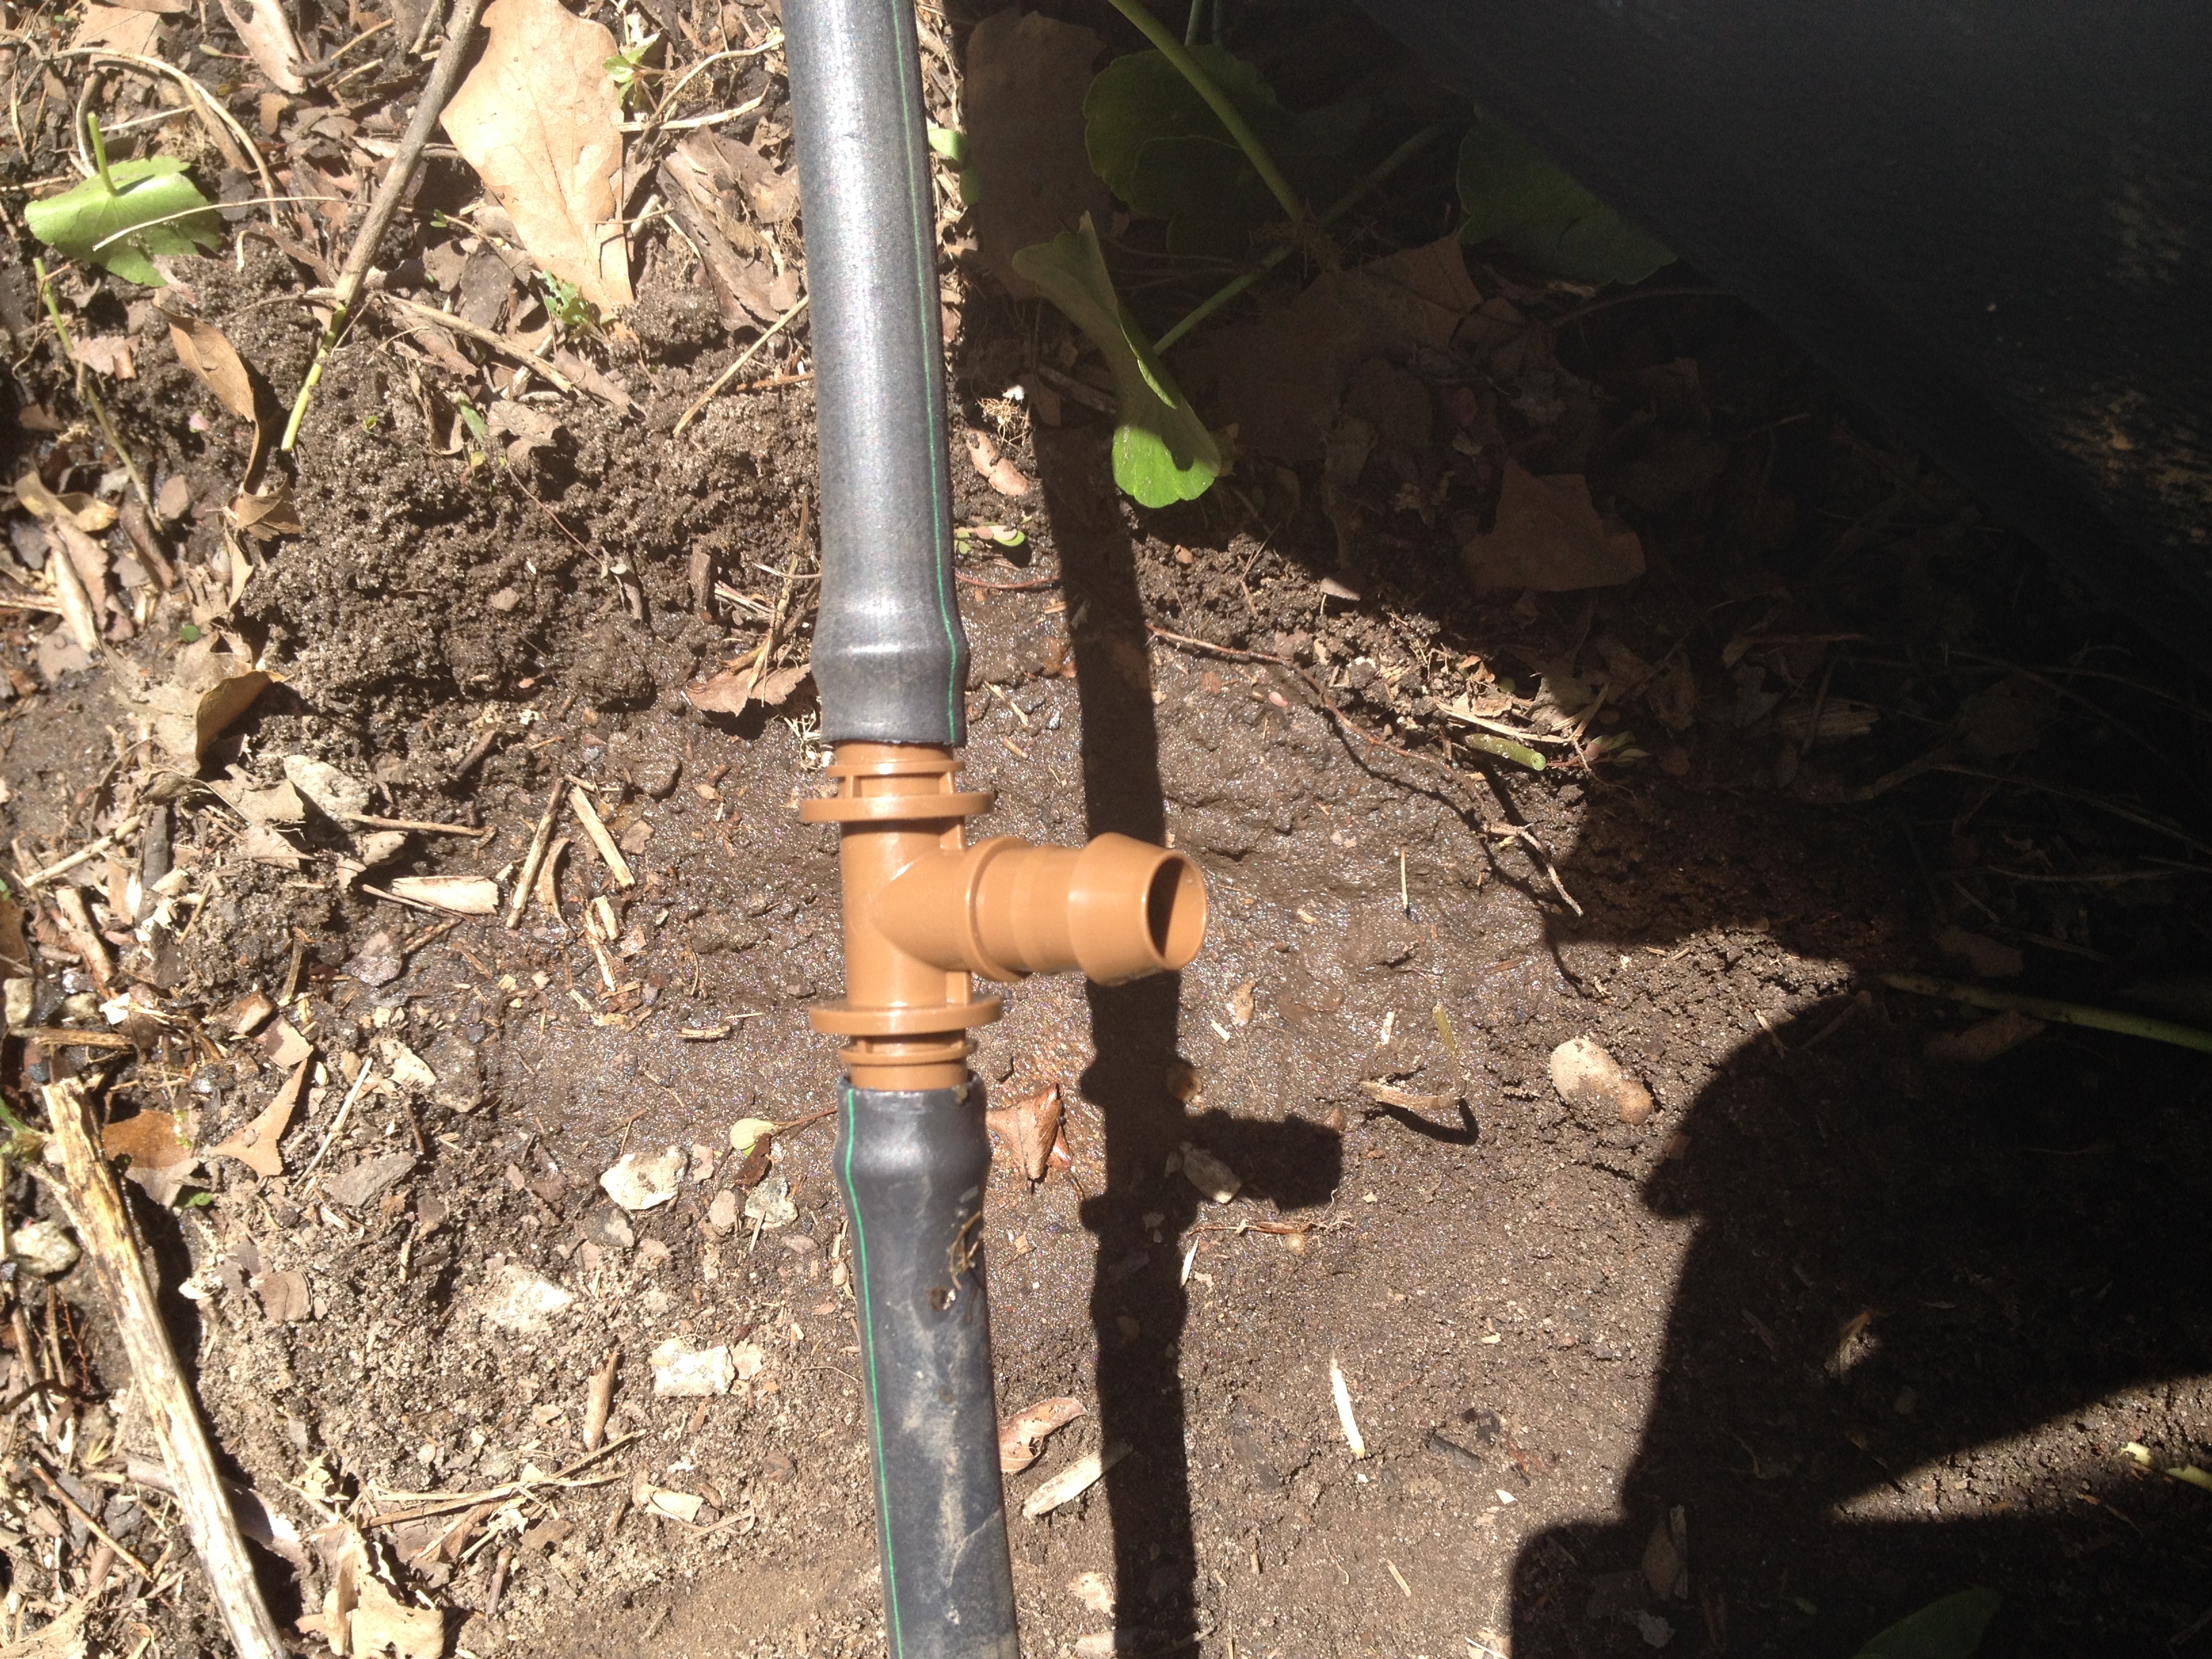
Step Three: use connectors to place the irrigation lines where you need them.
Step Four: use the emitter punch tool to insert the emitter.

Step Five: If your main tubing is not close enough to your plant, use 1/4 inch tubing to irrigate your plant.

Step Six: Check for leaks (if an emitter is not installed correctly, you may have a small geyser). And then set your timer! Now you’re ready to sit on the porch and have some lemonade. Enjoy!
