It is finally time. When the trees in middle Georgia start to wake up from their winter naps, it is time for me to get started on my spring/summer vegetable and flower seeds. Hooray!
I like growing plants from seed for two main reasons. First, it’s cheaper. I can buy an entire packet of tomato seeds for less than the cost of a plant, and my zinnia seeds are free to me because I save them. Yes, I had to spend some start-up money on my seed starting set-up, but in the long run I’m saving money. Second, I get more variety. By starting plants from seed, I can have flowers and vegetables that are not available at my local garden center. Let’s face it, people, variety is the spice of life. No offense to all you “boy” and “girl” fans (Big Boy, Early Girl), but I’d prefer a Cherokee Purple or a Black Krim any day. Now I’m daydreaming about a Black Krim on white bread with Duke’s mayonnaise and a little salt and pepper. Yum. But I have no Black Krims right now—I need to plant some seeds so I’ll have some in May.
Before I dig in, I need to review my plan. Last week, I figured out which of my vegetables are direct sow and which need to be started indoors. See It Helps to Have a Plan. The vegetables I plan to start inside and transplant are tomatoes, eggplant, okra, and peppers. I’m going to start with the tomatoes because they can be started six to eight weeks before the last frost date. I’ll start the rest in a couple weeks. The only flowers I plan to start inside are my vincas, and those can be started now because I want to transplant them to my flower beds in late March.
The Set-Up
I have a pretty decent set-up in my laundry room for starting seeds:

What’s so great about it?
Temperature. The laundry room stays relatively warm. Seeds and seedlings do best if they are in a warm (70° to 80°) environment without a lot of drafts. I’ve never found it necessary to have a heat mat in the laundry room, but the folks at Fine Gardening recommend a heat mat, and it’s a good idea if you don’t have another option for regulating the temperature. I’ve heard of people putting seedlings on top of the refrigerator, but (a) I store my cookbooks there and don’t want to move them, and (b) it would be tacky to install a shop light in the kitchen.
Light Source. Seedlings need a lot of light to grow strong and stocky. Without enough light, seedlings will be leggy, spindly, and sad. The window in my laundry room faces north and is not terribly great, which means that I cannot take the cheapest route and use the sun as my light source. Alas, I do not have a large, unobstructed south-facing window. What I do have: fluorescent shop lights on a timer. I know that my seedlings will do best if they get between fourteen and eighteen hours of sun per day, so I set the timer accordingly. I also know that the top of the seedlings need to be about an inch or two from the fluorescent lights (a little farther if I used a heat-producing light bulb). So I can either adjust the lights themselves or I can elevate the seedlings and reduce the amount of elevation as the seedlings grow. Clemson’s extension service says I should consider attaching aluminum foil to the light fixtures to reflect onto the plants. I am considering it, but I don’t want anyone to think I’m growing something illicit.
Water Source. The seed starting mix needs to be kept moist, so if you’re lazy like me it’s good to have access to a sink near your seedlings. Could I go all the way into the kitchen to fill up a spray bottle and spritz the seedlings? Sure. That’s a great way to water seedlings. But I have a sink in the laundry room, so I like to use the indoor hose that attaches to the sink, which my sweet cousin gave me for Christmas a couple years ago (Sweet Cousin: “I saw this on your Amazon.com wish list. Seriously? THIS is what you want for Christmas?” Me: “Yes, please!”). I don’t water the seedlings directly, though, especially when they’re small. Instead, I water them from the bottom by spraying water into the trays that hold the individual seed pots.
Space! I don’t want my seedlings to crowd me out of my living space (says the girl with one refrigerator shelf full of potted daffodil bulbs she’s trying to force—oh, well). In the laundry room, I have plenty of space.
The Stuff
I’ve got a good set-up. Now what stuff do I need?
Containers. Some of my gardening friends swear by peat pots, so I purchased a ton of them a couple years ago. Then I realized that I could use lots of other things that are much more cost effective. I could recycle small pots and plastic cell packs from plants I’ve previously purchased (it’s a good idea to wash these in soapy water before reusing). I could use egg cartons. I could use virtually any kind of plastic container (yogurt cup, cut-off milk jug, clear plastic spring mix box). I could even make small pots out of newspaper. Whatever type of container I use for the seedlings, I do make sure that they have adequate drainage, and I put the containers into a plastic tray. Actually, I put the containers into a mesh bottom tray (recycled, of course—I always save those trays that I get when I purchase a flat of plants from the garden center), and then I put them into the plastic tray. The plastic tray helps me keep the plants organized. It also keeps water contained and allows me to water the seedlings from the bottom. And the mesh bottom tray is helpful in case I overwater and need to dump a little out—I just lift out the mesh bottom tray containing all the seedlings and don’t risk spilling the seedlings themselves. I love the Perma-Nest trays, and I do have a nice set of them. They’re a little pricey, though, so I also picked up a few $1 trays from the hardware store.
Seed-Starting Mix. It’s important to have a good growing medium for your seedlings. There are plenty of commercially available seed starting mixtures. The key is to find a mix that drains well but can also hold moisture. I make my own soilless mixture. There are tons of recipes out there, but I use Daddy’s recipe: 4 parts peat moss, 2 parts compost, 1 part perlite, and 1 part vermiculite. A couple of notes. (1) This recipe has not been endorsed by the UGA Extension Service—it just works for me. (2) Buy the perlite and vermiculite in huge bags from your feed and seed store. If can only find the small bags, it’s much more cost effective to buy a pre-made seed starting mix instead. (3) I would like to switch from peat moss to coir (peat-like product made of coconut husks) because it is reported that peat is being harvested at an unsustainable rate, but I have not been able to locate reasonable quantities of coir at my feed and seed store, my local garden center, my local hardware store, or a big box store. I’ll keep looking. Meanwhile, if you see coir in Middle Georgia, let me know.
Seeds (Duh). You need seeds, of course. I order a lot of seeds from catalogs—it’s a good way to get varieties that are not available in local stores. If I’m buying a lot of seeds (like beans), I go to the local feed and seed store. I’ve also been known to impulse buy seeds at the big box store or even the grocery store. I’m seldom disappointed with seeds I order from the catalog (except hybrid petunias—I never had great luck with those), and I always have success with feed and seed store seeds. The impulse purchases are not always as successful.
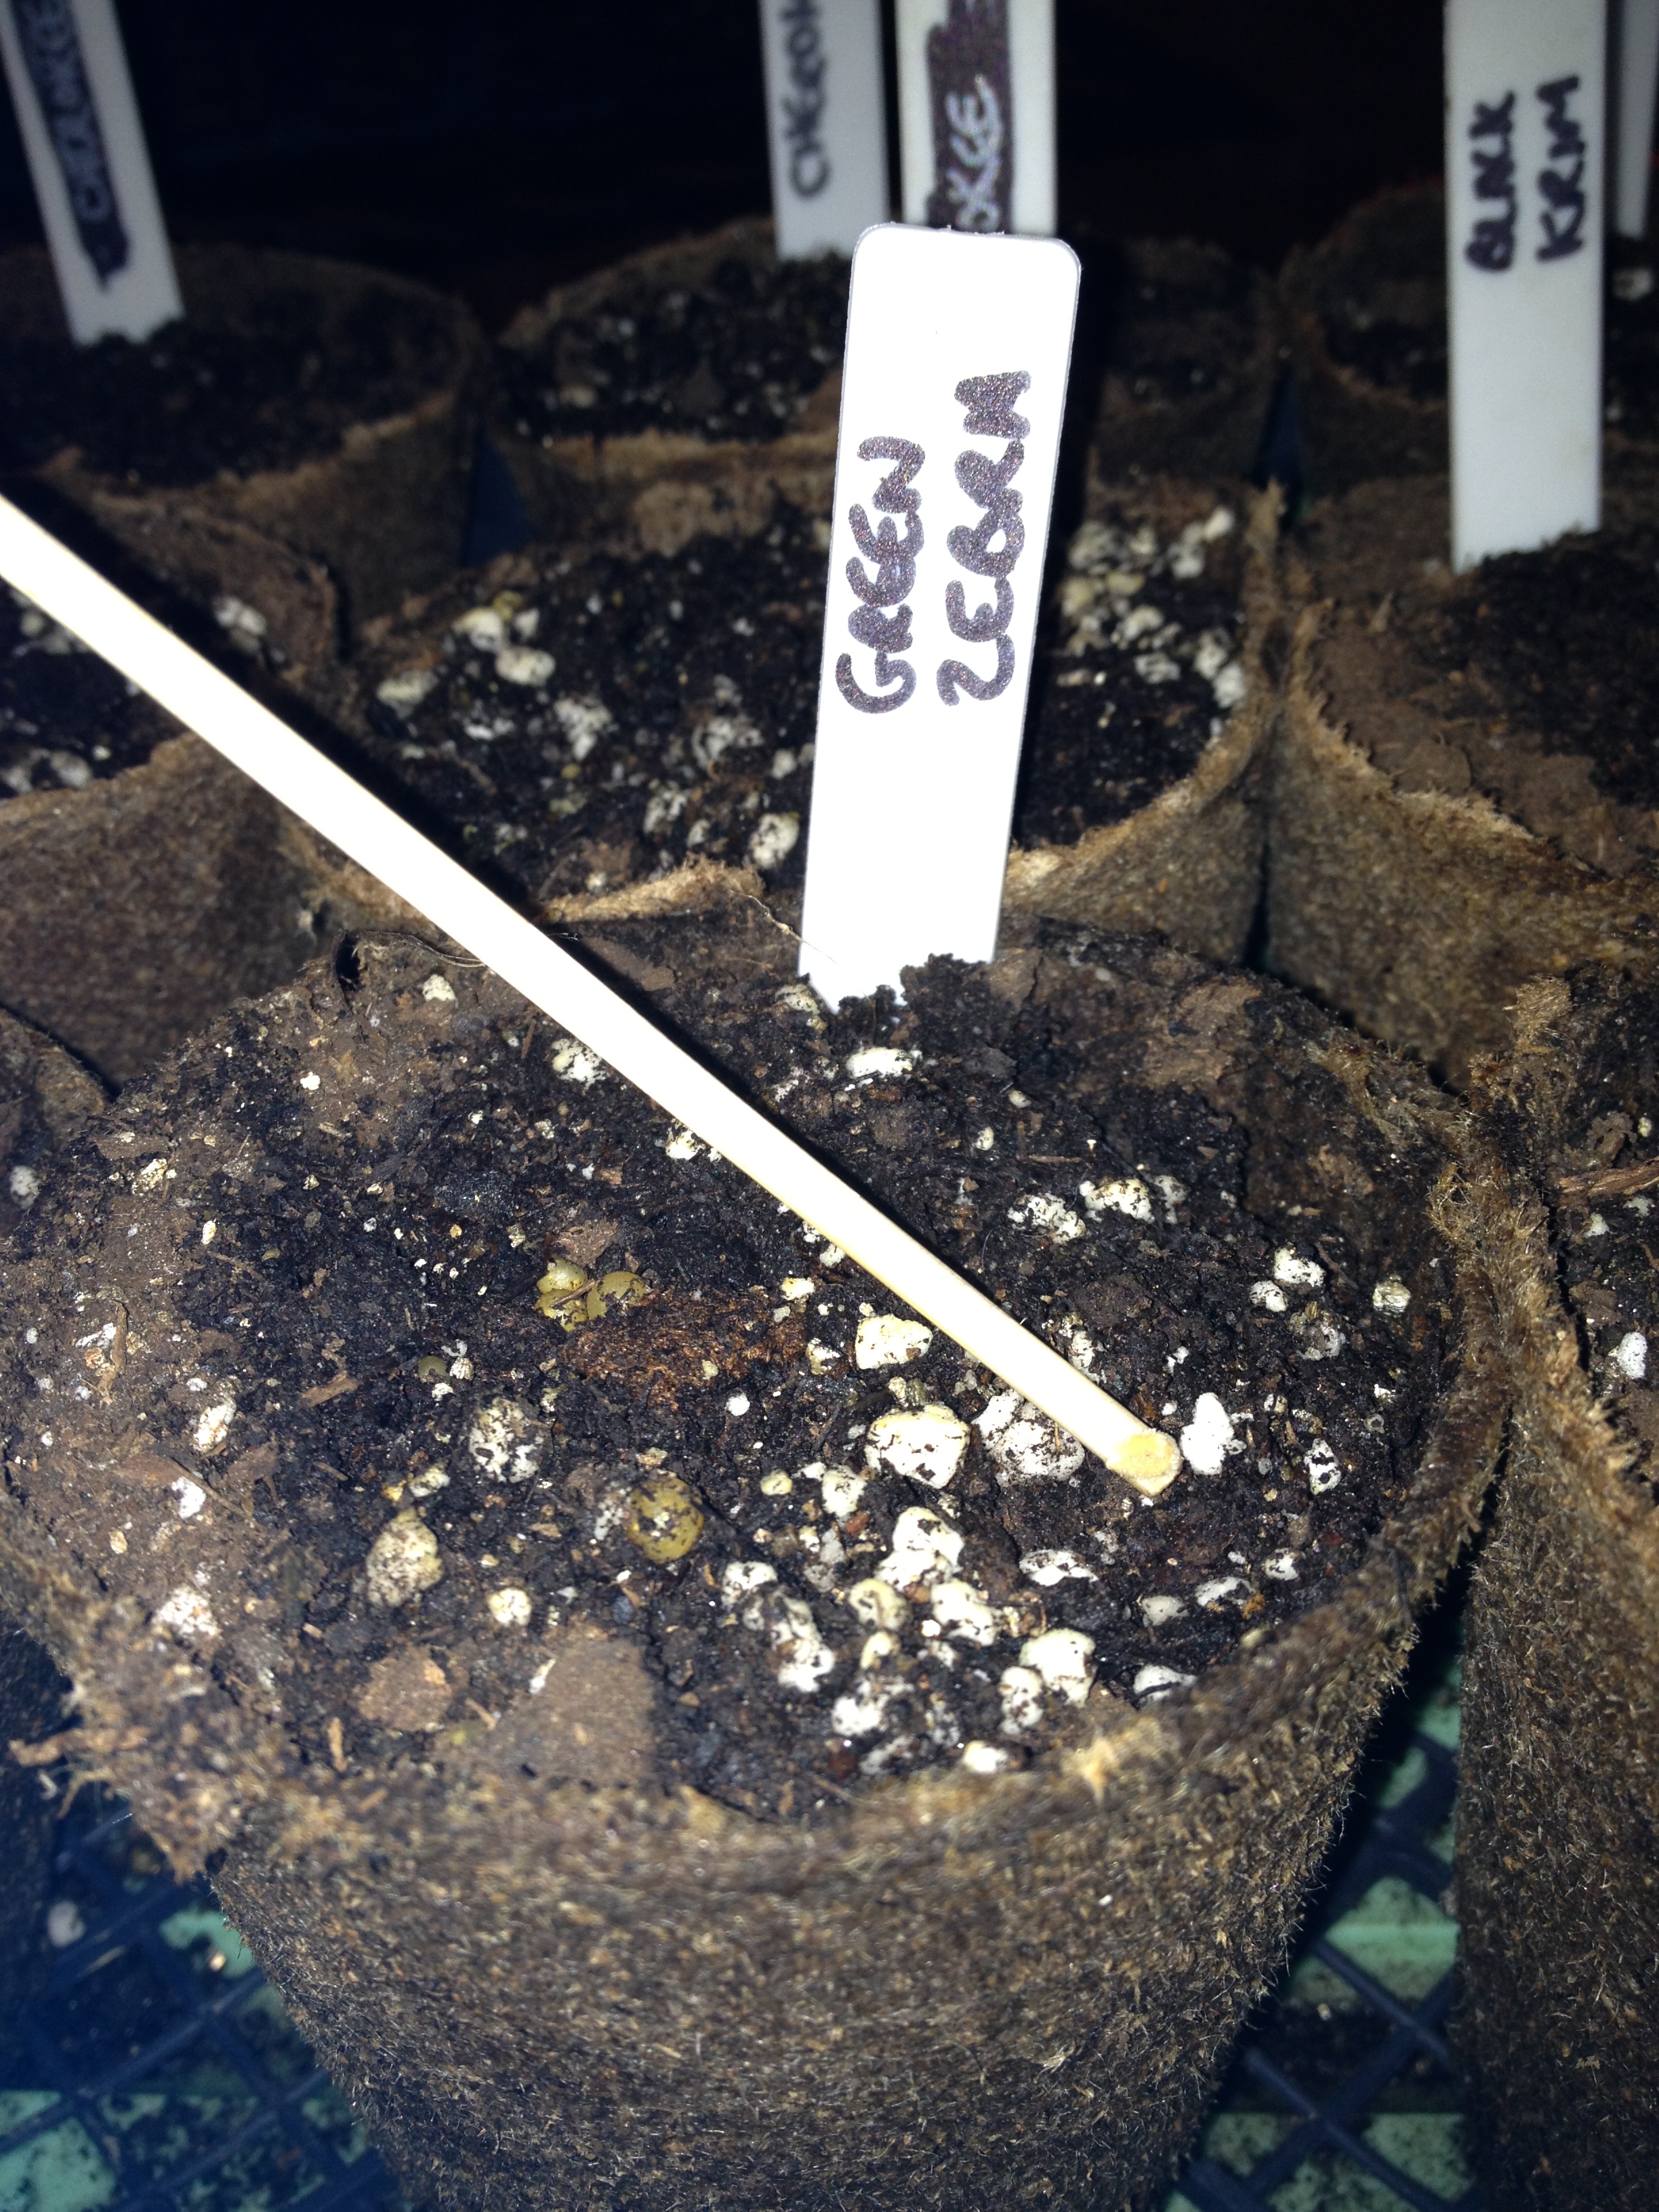
Labels. I want to remember what I planted where. I use plastic plant markers for individual plants. If I’ve planted an entire flat with the same plant (white vincas, for example), I just label the flat with masking tape.
The Planting
I’ve got the set-up and the stuff. Now what? It’s time to plant! This year, I’m trying to use up the aforementioned peat pots, so I’ll start my tomatoes in those.
First, I fill the containers to the top with my seed starting mix. Then I need to moisten it. If I have time, I try to get the containers filled and watered a few hours before I plant the seeds—overnight works great. Once the containers are prepped, I gather all of my supplies and my list of how many plants I need of each variety, and I’m ready to go.

Next, I plant the seeds. I plant between two and four seeds in each individual container and make sure they’re covered with the right amount of dirt. Most of the seeds I plant are pretty small, and they do not need to be planted too deep—I usually double check the seed packet to make sure I’m planting at the right depth. I learned a neat trick from a gardening magazine—use a small wooden skewer or a pencil to plant small seeds. If you dip the dull end of the skewer into water and then touch the seed with it, the seed will adhere. When you stick the skewer into the dirt, it will stay there. Also, I find it useful to place the label in the pot before I plant—that way, I know what I’m supposed to plant where.
Next, I water in the seeds and cover them with a clear plastic lid, which will lock in moisture and heat. Plastic wrap would work, too, but I like the dome lids because they are a little more forgiving and don’t have to be removed as soon as the seeds germinate.

After Planting
I’ll be sure to take photos of my seedlings as they grow, but there are a couple of things that I might as well address while I’m thinking about it.
Watering. I need to make sure that the seedlings’ soil stays moist, but not wet. I try to remember to use room temperature water so I don’t shock the tiny roots with cold water.
Thinning. Remember when I said that I plant between two and four seeds per container? That’s in case one of the seeds doesn’t germinate. If all of the seeds germinate, I need to thin the seedlings by cutting off the weaker of the seedlings (I was told to use scissors because pulling the weak seedling may disturb the roots of the one I’m keeping).
Fertilizing. Because I’m growing my seedlings in a soilless medium, I need to feed them with a water soluble fertilizer. I do not feed them until they’ve got their first true leaves (as opposed to the cotyledons—the embryonic leaves that are the first to emerge).
Hardening off. I’ve spent all this time and energy growing my seedlings in the comfort of my laundry room, so it would be terrible if they died because I exposed them to the elements without giving them a chance to adjust. One year, I put my tomatoes in the Middle Georgia sun without adequately hardening them, and they got sunburned. I felt awful. Plus, it took time for those babies to recover, so my fruit production was delayed. That’s why it’s important to harden off your seedlings—they’ve got to be tough to make it outside. A couple weeks before transplanting, I take the plants outside during the day and put them in a relatively protected place away from strong wind, strong rain, and intense sun. I bring them inside or at least into the carport at night. About a week before transplant, I can leave them outside at night, and I gradually increase the amount of sun they get during the day.
Good luck to you as you start your own seeds! And let me know if you have gardening questions.

Leave a comment